mkdocs
#248: MkDocs for a Blog
Last week we searched for viable candidates to run a blog with a static site generator and Material for MkDocs
Installation
To run Material for MkDocs, we need to install these packages:
pip install mkdocs - material
pip install mkdocs - rss - plugin
Getting started
For our first steps with the blog plug-in, we follow along the basic blog tutorial and add a little extra configuration to run a blog-only MkDocs installation. Our mkdocs.yml looks like this:
site_name : Python Friday
site_description : an example blog set up following the tutorial
site_url : http://www.example.com
theme :
name : material
plugins :
- blog :
blog_dir : .
Next to our mkdocs.yml file we create a folder named docs and inside another folder called posts . We should end up with this basic structure:
.
| mkdocs . yml
|
--- docs
--- posts
To have something to display, we need 3 minimal posts. Inside our docs/posts folder, we create the file 01-hello.md and add this content:
---
date : 20 : 00 : 00
created : 2024 - 08 - 31 21 : 02 : 00
tags :
- hello
- start
categories :
- writing
---
# Hello world!
We hope you are all having fun !
< ! -- more -->
Lorem ipsum dolor sit amet , consectetur
adipiscing elit , sed do eiusmod tempor
incididunt ut labore et dolore magna aliqua .
For the file 02-another.md we can use the title instead of a heading 1 in the text to set the title of the blog post:
---
date : 20 : 00 : 00
created : 2024 - 09 - 10 11 : 00 : 00
title : Another post
tags :
- mkdocs
categories :
- writing
---
Another post to explore MkDocs .
< ! -- more -->
Lorem ipsum dolor sit amet , consectetur
adipiscing elit , sed do eiusmod tempor
incididunt ut labore et dolore magna aliqua .
For the third file we put the following lines into the file 03-one-more.md :
---
date : 20 : 00 : 00
created : 2024 - 09 - 20 20 : 30 : 12
title : One more post
tags :
- mkdocs
categories :
- writing
---
One more post to explore MkDocs .
< ! -- more -->
Lorem ipsum dolor sit amet , consectetur
adipiscing elit , sed do eiusmod tempor
incididunt ut labore et dolore magna aliqua .
We should now have this structure in place:
.
| mkdocs . yml
|
--- docs
--- posts
01 - hello . md
02 - another . md
03 - one - more . md
Run the preview
We go back to our mkdocs.yml file and run the following command:
This should give us an output like this:
INFO - Building documentation... INFO - Cleaning site directory INFO - Documentation built in 0.34 seconds INFO - [20:20:30] Watching paths for changes: 'docs', 'mkdocs.yml' INFO - [20:20:30] Serving on http://127.0.0.1:8000/
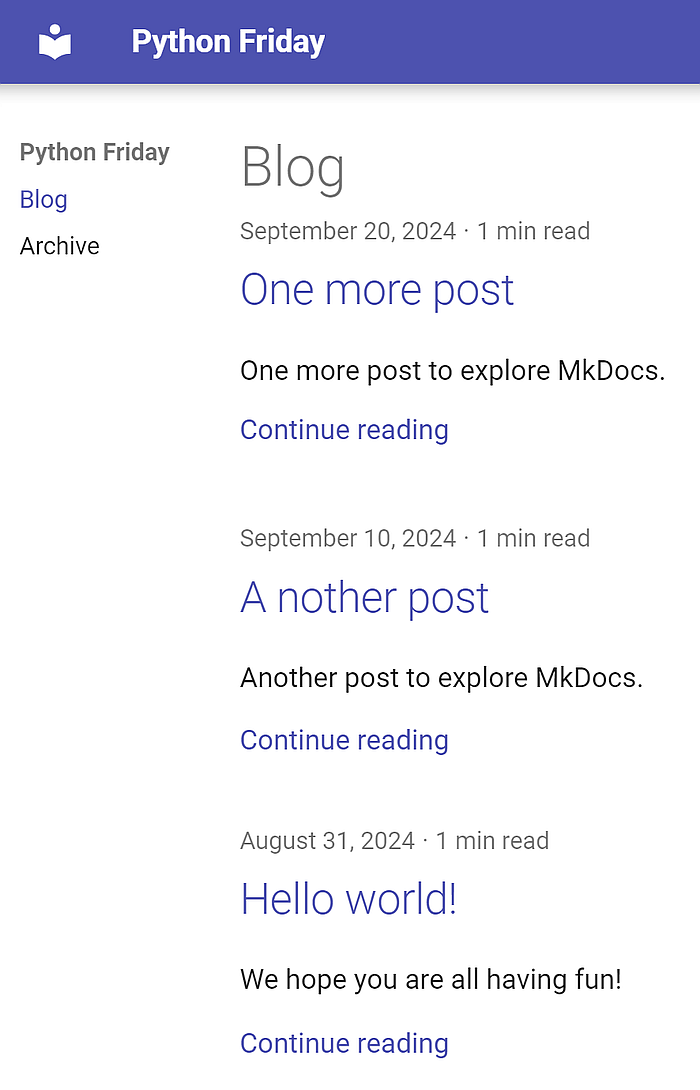
When we click on the link, our new blog should show up in the browser:
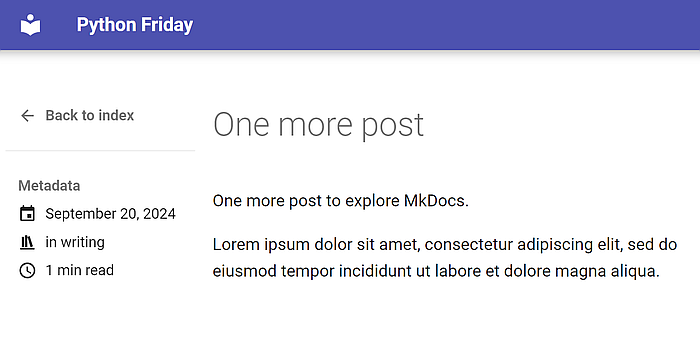
As we can see, only the title, the date and the text above the read more comment shows up. To see the full post, we need to click on the title:
When we change our existing posts or add a new one, MkDocs will detect the change, rebuild the site and our browser reloads the page automatically.
Customisations
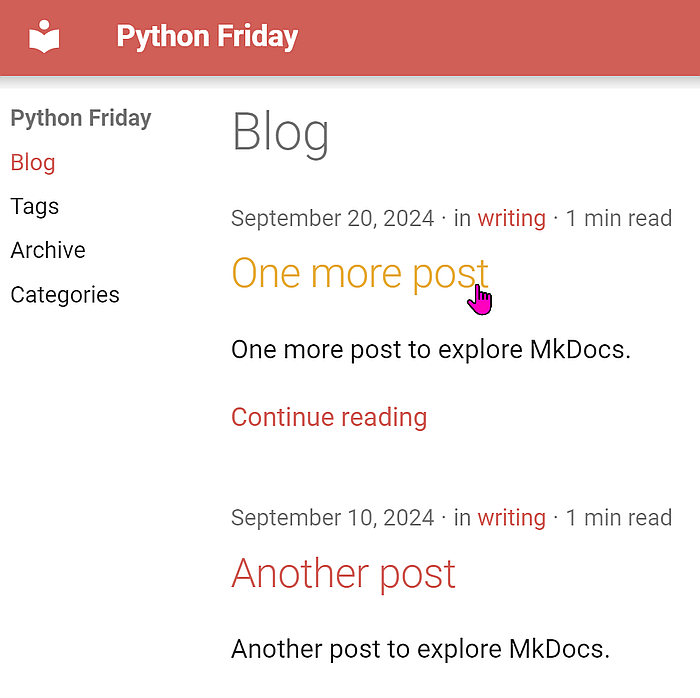
We can change the colours of our blog with a few lines in our mkdocs.yml file:
...
theme :
name : material
palette :
primary : red
accent : amber
...
If we go back to our browser, we should see the red primary colour and find orange when we hover over a link:
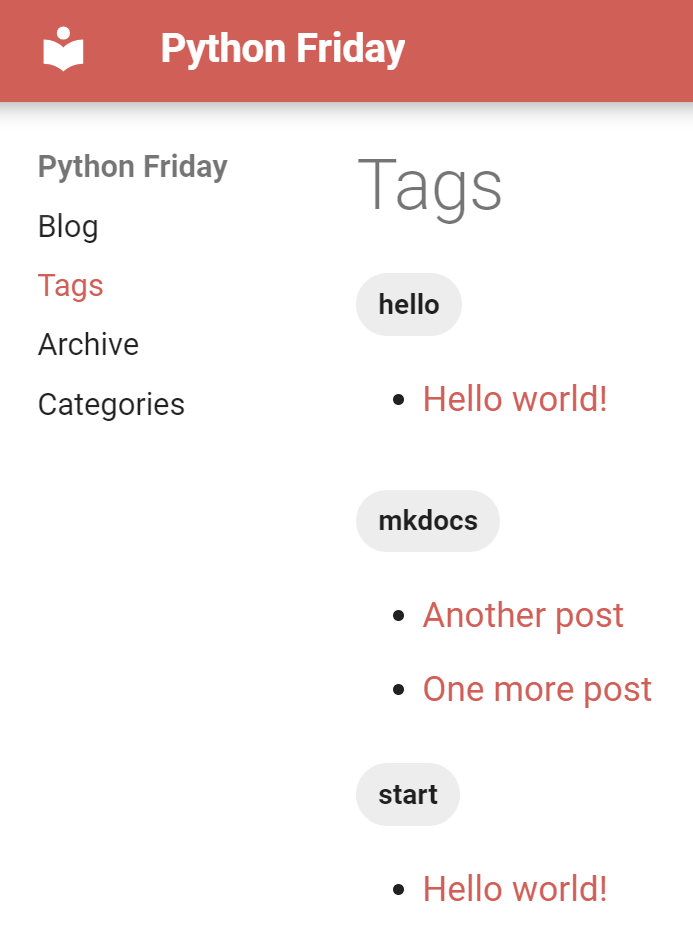
Our 3 posts have tags, but they do not show up yet. We can fix that with a change to the mkdocs.yml file:
plugins :
- blog :
blog_dir : .
- tags :
tags_file : tags.md
This activates the tag feature and creates an overview page for us – as long as we create an empty tags.md file inside the docs folder:
.
| mkdocs . yml
|
+--- docs
| | index . md
| | tags . md
| |
| \--- posts
| 01 - hello . md
| 02 - another . md
| 03 - one - more . md
We now need to restart the mkdocs serve command to see the tags feature in action:
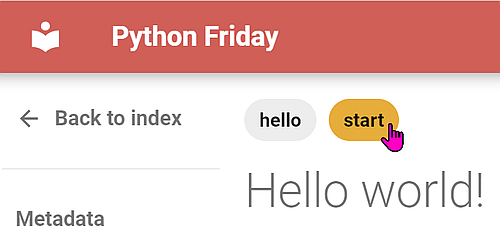
From this overview page we can go to the posts and in each post, we have the tags for that post as links:
Show the categories
To show the expanded list of our categories, we can add these lines to our mkdocs.yml file:
theme :
name : material
palette :
primary : red
accent : amber
features :
- navigation.indexes
- navigation.expand
plugins :
- blog :
blog_dir : .
categories_toc : true
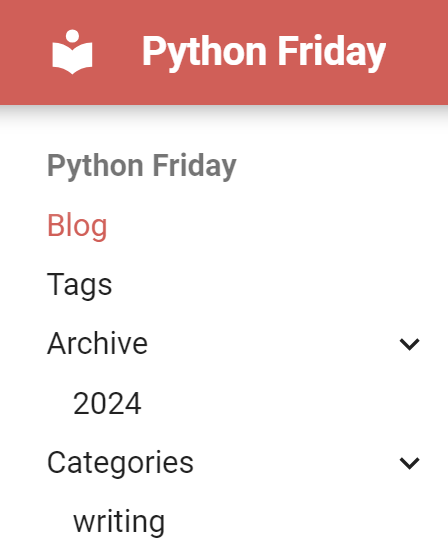
If we save the configuration file, the site should be rebuilt, and we can see our categories in the main navigation:
Add the search feature
We can activate the search feature with this line in our mkdocs.yml :
plugins :
- blog :
blog_dir : .
categories_toc : true
- search
- tags :
tags_file : tags.md
MkDocs now generates a search index for us that we can access through the search field in the top navigation bar of our site:
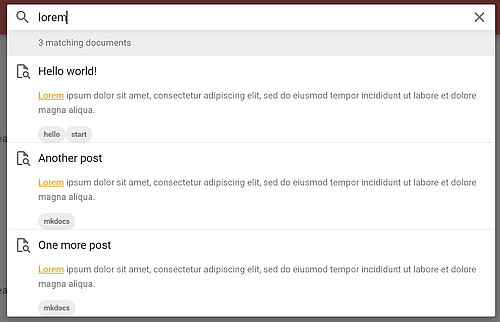
As soon as we type a few characters, the search shows us the matching articles:
If we follow along with the official documentation, the RSS feature should be a single line in the configuration file. However, I had to set a few more lines to get the feed the way I want it:
site_url : http://www.example.com
site_author : [email protected] (Johnny Graber)...
plugins :
...
- tags :
tags_file : tags.md
- rss :
date_from_meta :
as_creation : "date.created"
as_update : "date.updated"
datetime_format : "%Y-%m-%d %H:%M:%S"
default_time : "20:00"
default_timezone : Europe/Paris
enabled : true
length : 20
match_path : "posts/*"
url_parameters :
utm_source : "PythonFriday"
utm_medium : "RSS"
utm_campaign : "feed-syndication"
use_git : false
We can now access the feed with the specified path from above and use HTTPie to fetch the RSS feed over HTTP:
http localhost : 8000 / feed_rss_created . xml
HTTP / 1.0 200 OK
Content - Length : 2114
Content - Type : text / xml
Date : Mon , 07 Oct 2024 20 : 25 : 11 GMT
Server : WSGIServer / 0.2 CPython / 3.12.4
< ? xml version = "1.0" encoding = "UTF-8" ? >
< rss xmlns : atom = "http://www.w3.org/2005/Atom" xmlns : dc = "http://purl.org/dc/elements/1.1/" version = "2.0" >
< channel >
< title > Python Friday </ title >
< description > an example blog set up following the tutorial </ description >
< link > http : // 127.0.0.1 : 8000 /</ link >
< atom : link href = "http://127.0.0.1:8000/feed_rss_created.xml" rel = "self" type = "application/rss+xml" />
< managingEditor > info @improveandrepeat . com ( Johnny Graber ) </ managingEditor >
< language > en </ language >
< pubDate > Mon , 07 Oct 2024 20 : 25 : 02 - 0000 </ pubDate >
< lastBuildDate > Mon , 07 Oct 2024 20 : 25 : 02 - 0000 </ lastBuildDate >
< ttl > 1440 </ ttl >
< generator > MkDocs RSS plugin - v1 .15.0 </ generator >
< item >
< title > One more post </ title >
< description >& lt ; p & gt ; One more post to explore MkDocs .& lt ; / p & gt ; </ description >
< link > http : // 127.0.0.1 : 8000 / 2024 / 09 / 20 / one - more - post / ? utm_source = PythonFriday & amp ; utm_medium = RSS & amp ; utm_campaign = feed - syndication </ link >
< pubDate > Fri , 20 Sep 2024 20 : 30 : 12 + 0200 </ pubDate >
< source url = "http://127.0.0.1:8000/feed_rss_created.xml" > Python Friday </ source >
< guid isPermaLink = "true" > http : // 127.0.0.1 : 8000 / 2024 / 09 / 20 / one - more - post /</ guid >
</ item >
< item >
< title > Another post </ title >
< description >& lt ; p & gt ; Another post to explore MkDocs .& lt ; / p & gt ; </ description >
< link > http : // 127.0.0.1 : 8000 / 2024 / 09 / 10 / another - post / ? utm_source = PythonFriday & amp ; utm_medium = RSS & amp ; utm_campaign = feed - syndication </ link >
< pubDate > Tue , 10 Sep 2024 11 : 00 : 00 + 0200 </ pubDate >
< source url = "http://127.0.0.1:8000/feed_rss_created.xml" > Python Friday </ source >
< guid isPermaLink = "true" > http : // 127.0.0.1 : 8000 / 2024 / 09 / 10 / another - post /</ guid >
</ item >
< item >
< title > Hello world ! </ title >
< description >& lt ; h1 & gt ; Hello world ! & lt ; / h1 & gt ; & lt ; p & gt ; We hope you are all having fun ! & lt ; / p & gt ; </ description >
< link > http : // 127.0.0.1 : 8000 / 2024 / 08 / 31 / hello - world / ? utm_source = PythonFriday & amp ; utm_medium = RSS & amp ; utm_campaign = feed - syndication </ link >
< pubDate > Sat , 31 Aug 2024 21 : 02 : 00 + 0200 </ pubDate >
< source url = "http://127.0.0.1:8000/feed_rss_created.xml" > Python Friday </ source >
< guid isPermaLink = "true" > http : // 127.0.0.1 : 8000 / 2024 / 08 / 31 / hello - world /</ guid >
</ item >
</ channel >
</ rss >
If you change the settings for the RSS feed, you best restart mkdocs to see it in action.
Add links to the next and the previous post
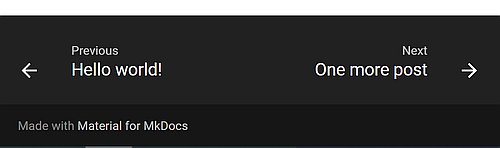
I like the links to the next and previous post in the footer. To activate it, we need another line in our mkdocs.yml :
features :
- navigation.indexes
- navigation.expand
- navigation.footer
After a page reload in our browser, we see the navigation elements in the footer:
Custom JavaScript and CSS
If we want to add a custom JavaScript or CSS snipped, we do not need to override the template. Instead, we can create our custom files in the folders stylesheets and javascripts:
.
| mkdocs . yml
|
--- docs
| index . md
| tags . md
|
+--- javascripts
| extra . js
|
+--- posts
| 01 - hello . md
| 02 - another . md
| 03 - one - more . md
|
--- stylesheets
extra . css
In the mkdocs.yml we add these lines to use our extra files:
...
extra_css :
- stylesheets / extra . css
extra_javascript :
- javascripts / extra . js
plugins :
...
Next
Except for the RSS plug-in, all the features of Material for MkDocs worked right out of the box. Therefore, I can stop the search for a blog engine and go directly to the next step: migrate the blog posts from WordPress to Markdown.